Range mask
Heads Up!
This article is several years old now, and much has happened since then, so please keep that in mind while reading it.
Then I will add the graduated filter just by clicking in the graduated filter icon:
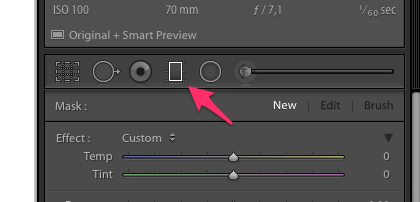
And then I will pull a graduated filter over my picture, it will look like this:
Remember to tick off in “Show Selected Mask Overlay” if you want to see where you have placed your mask.
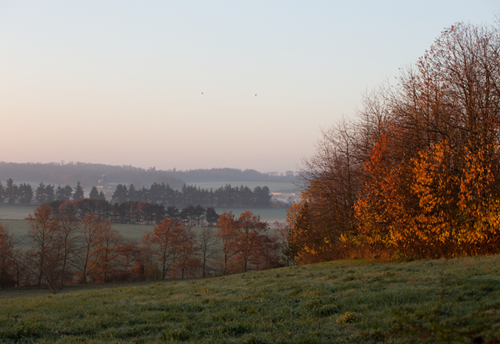
I will now make my sky darker using Exposure and Contrast, this will give me at a picture that looks like this:
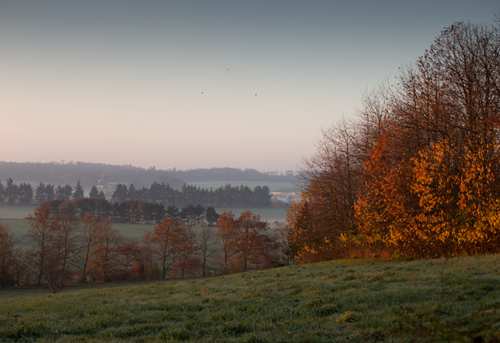
But the problem is that now it is not only the sky there is darker but also the trees on the right side of the picture.
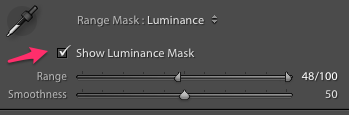
The way you can fix this in Lightroom, is to use something called “Range Mask” and select “Luminance”
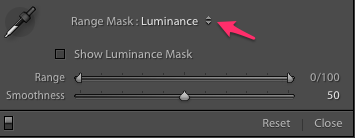
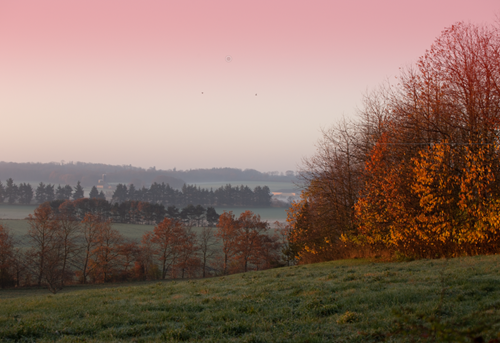
Here you have the ability to customize the amount of "Range" try to see how the dark disappears from the trees.
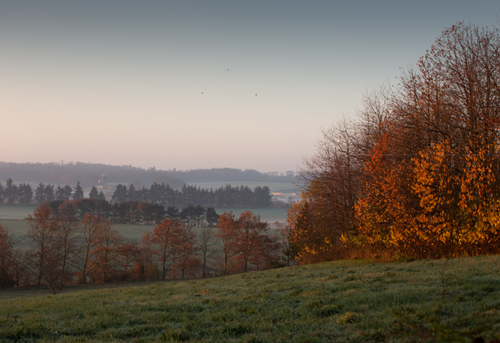
I have just adjusted "Range" sliders:
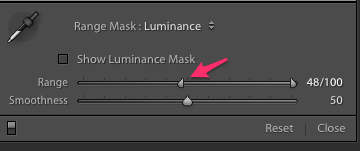
If you want to see the affected area, please tick “Show Luminiance Mask”