How to make a profile in Lightroom
Heads Up!
This article is several years old now, and much has happened since then, so please keep that in mind while reading it.
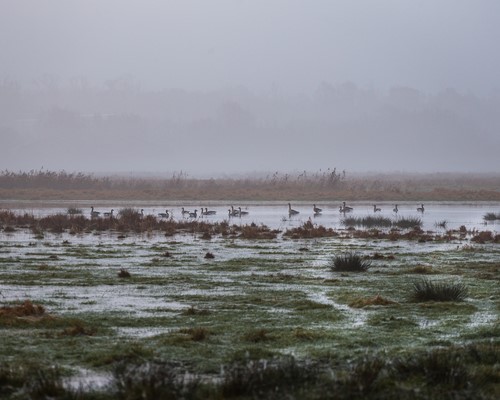
First of all, you must select an image that you would like to use as a base for the profile you are going to make.
I have chosen a landscape image from the marsh around Ribe.
Then I choose to add an adjustment layer to the image
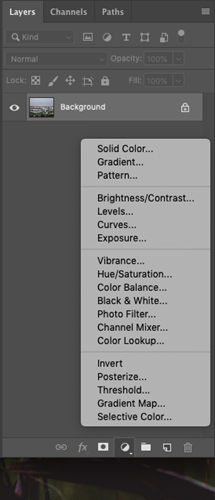
I choose Hue/Contrast and then I will make the changes that I think my image should have.
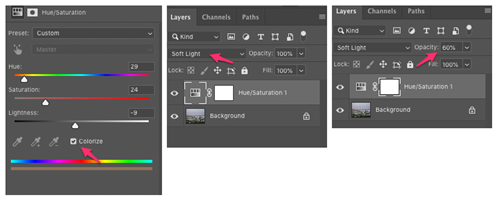
- I select to tick the checkbox “Colorize”
- Then I will go down to the “Blending modes” and select “Soft light”
- Then I will play around with the colors in “Hue/Saturation”
It will look something like this:
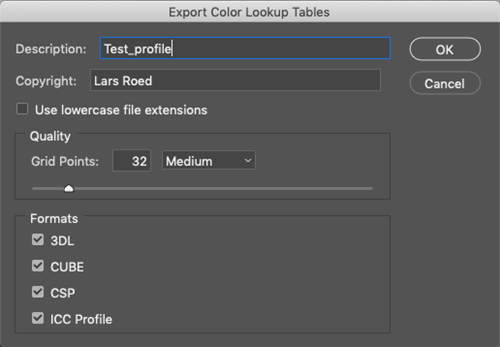
Next step is to save this as a “Color Lookup Tables” – or LUTs as they also go by.
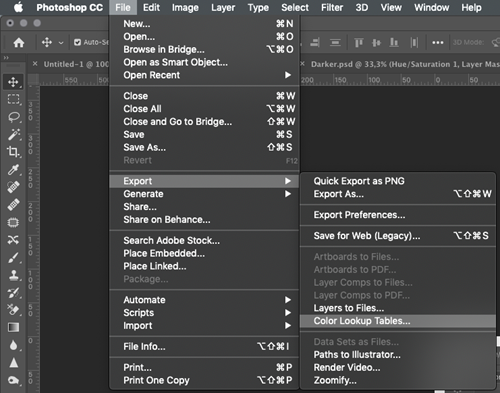
Select a name and then click “OK”
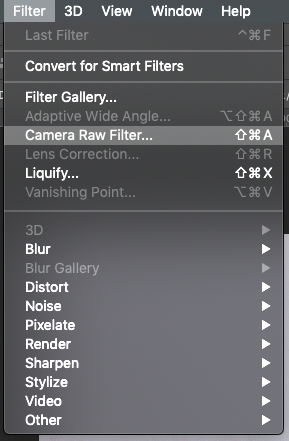
And now the magic happens – go up under the filters in the top menu and select "Camera Raw Filters"
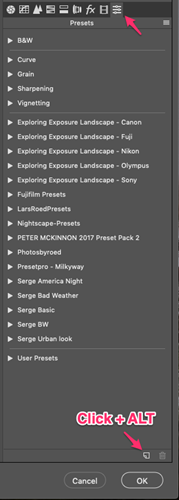
Now we have to associate the LUT file we've just made, so it can be used as a profile in both Photoshop and Lightroom.
So click on the icon shown here + ALT.
Now the opportunity comes where you can create a new profile. Add a Name and select the LUT you've just made.
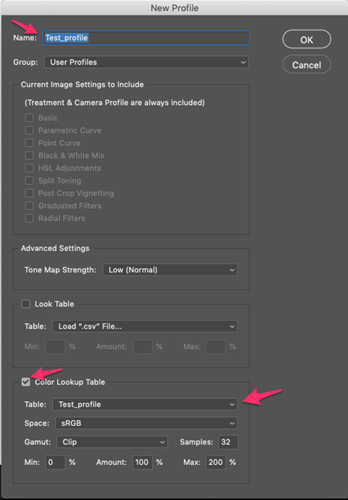
And then click OK. You have now created a profile :-)
You can see it directly in Photoshop by going up and selecting "Camera Raw filters" and clicking the profiles icon.
It is the same functionality in Lightroom.
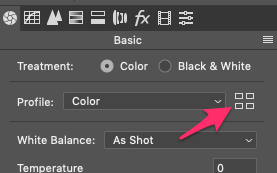
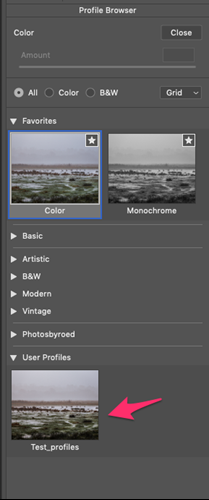
And then you can select your own profile.
Merry Christmas
------
You can find Lars' amazing landscape images (and others) at his Instagram account.
